Triangle® Mastercard® $150 Bonus CT Money®††. New Cardmembers only. Conditions Apply. Ends May 31.
Learn MoreThis paragraph should be hidden..
How to change your tires
Changing a tire doesn’t have to mean a trip to the garage. This is an easy job that you can handle yourself if you already have rims attached to your tires.


STEP 1
Turn off the vehicle
Be sure the vehicle is on level ground. Turn off the ignition and set the parking brake.

STEP 2
Set your wheel chocks
Use wheel chocks around the tires that you aren’t working on.

STEP 3
Loosen the lug nuts
Using a breaker bar, crack the lug nuts loose making sure not to take them off.

STEP 4
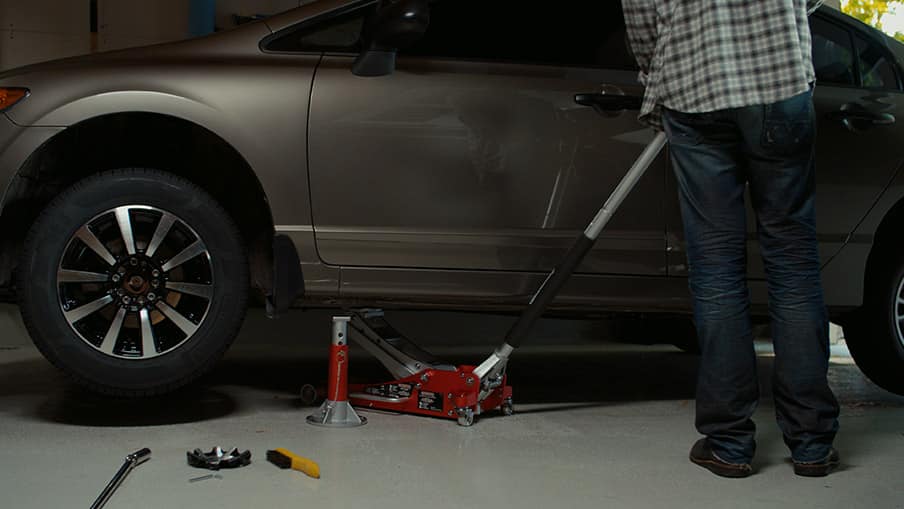
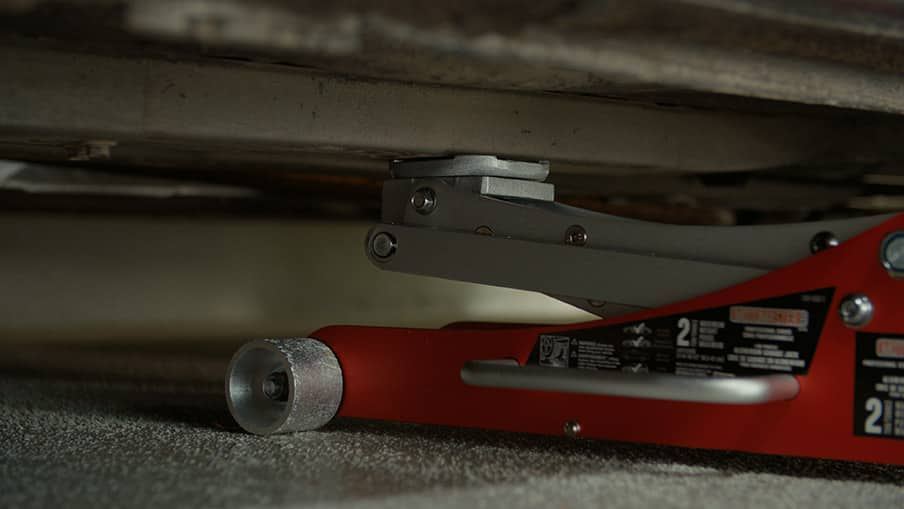
Place a jack
Place a jack under the correct jacking point on your vehicle near the tire you’re changing. If you’re unsure of placement, consult with your owner’s manual. Placing a jack incorrectly could damage the vehicle or cause personal injury.

STEP 5
Raise the vehicle
Jack the vehicle up. Once it’s raised, place your jack stands under the car and lower the vehicle onto the jack stands. Again, if you’re unsure of placement, consult with your owner’s manual before placing the jack stands.
STEP 6
Remove the nuts
Now remove the lug nuts. Set the nuts aside in a clean area.

STEP 7
Remove the tire and wheel
Lift and pull the wheel off the hub.

STEP 8
Put on the new wheel and tire
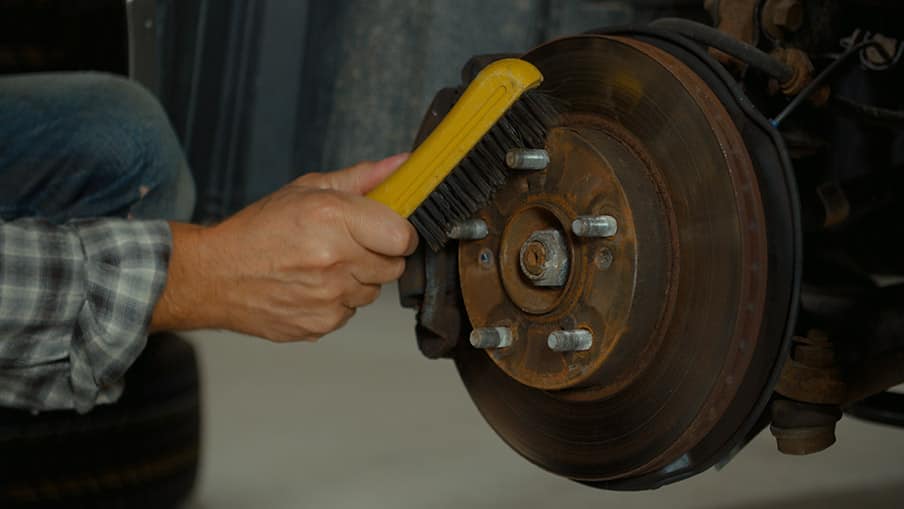
Make sure the two mating surfaces are clean before placing the new wheel and tire on the wheel hub.
STEP 9
Put the nuts back on
Put the nuts on manually until hand tight.
STEP 10
Lower your vehicle
Remove your jack stand and lower the vehicle to the ground.
STEP 11
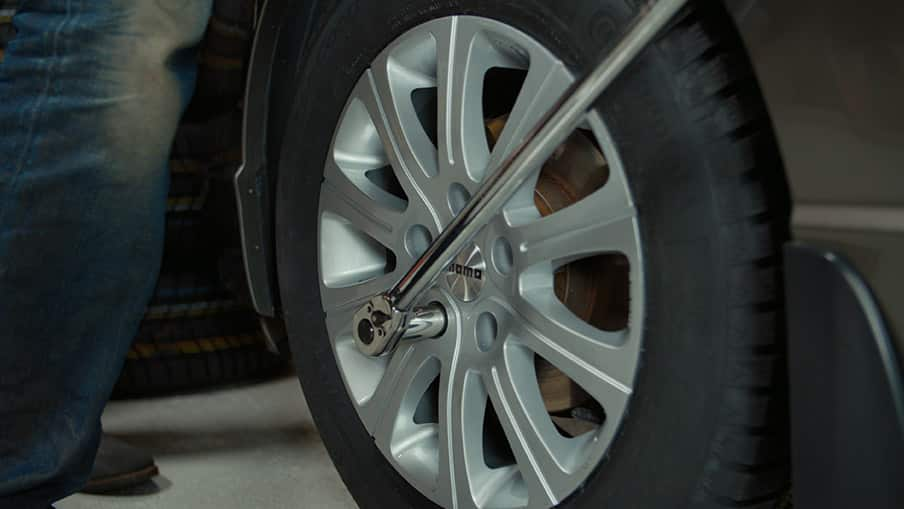
Tighten nuts with torque wrench
Using a torque wrench, tighten the nuts in a star pattern based on the torque specifications in your owner’s manual. This balances the stresses on the wheel and pulls the rim evenly against the hub.
