This paragraph should be hidden..
How to put on protective hockey gear
Getting geared up to play hockey is easier than you think.


7 STEPS
WHAT YOU'LL NEED
STEP 1
Jock or Jill
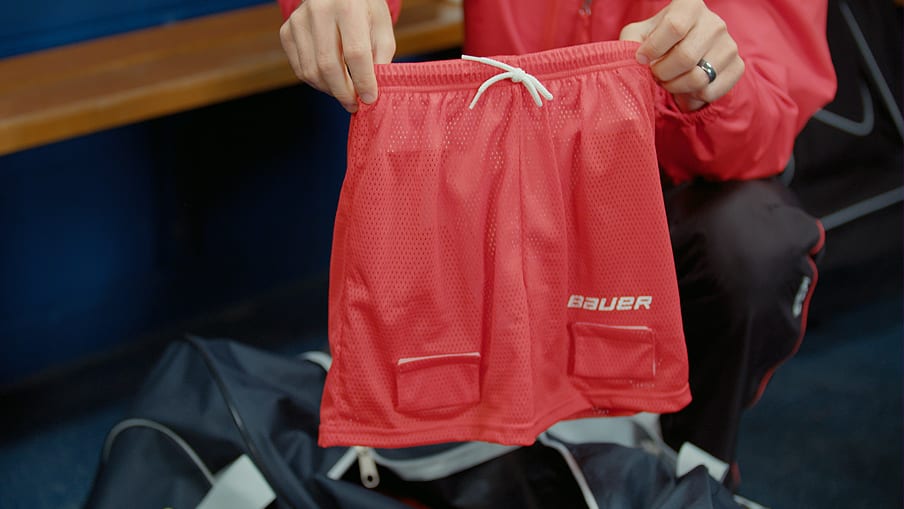
Protective hockey gear helps to reduce the chance of injury and increase your comfort and mobility on the ice. Start with your jock or jill shorts, which fit based on waist size.
STEP 2
Shin pads
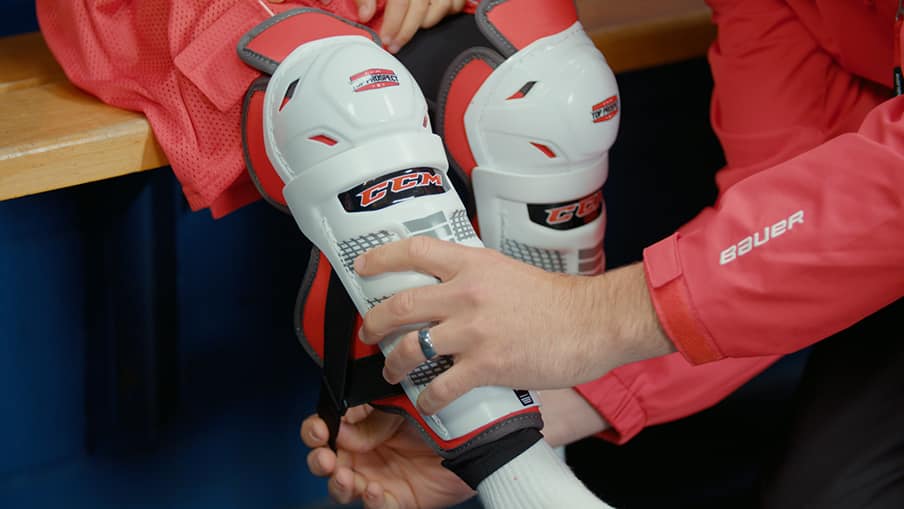
Then put on your shin pads, which should cover your knee cap to just above your ankle. There shouldn’t be any gap between the top of your skate and the bottom of shin pad. Pull your hockey socks over your shin pad.
STEP 3
Hockey pants
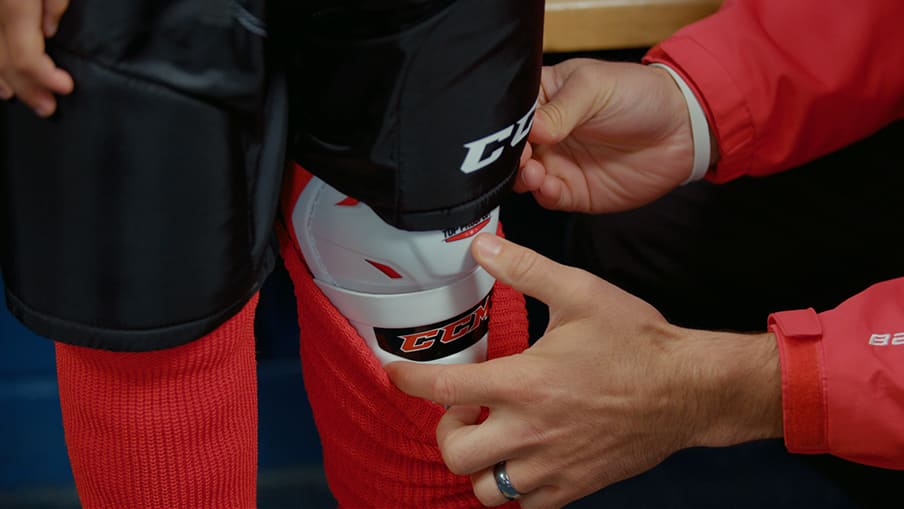
Put your hockey pants on now. You can generally find the size based on your waist size, but in addition you need to make sure they’re long enough when you’re standing. They need to hit about halfway down your kneecap, overlapping your shin guards. Make sure the tailbone guard is centered.
STEP 4
Shoulder pads
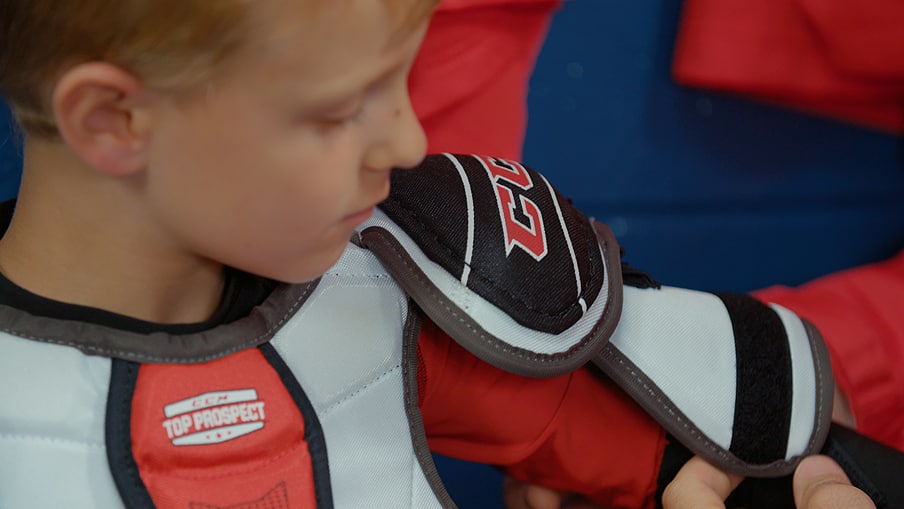
Time for upper body, starting with shoulder pads. The cap of the shoulder pad should sit on the middle of your shoulder joint and shouldn’t ride up or get in the way of your mobility. You can find your fit based on your shirt size.
STEP 5
Elbow pads
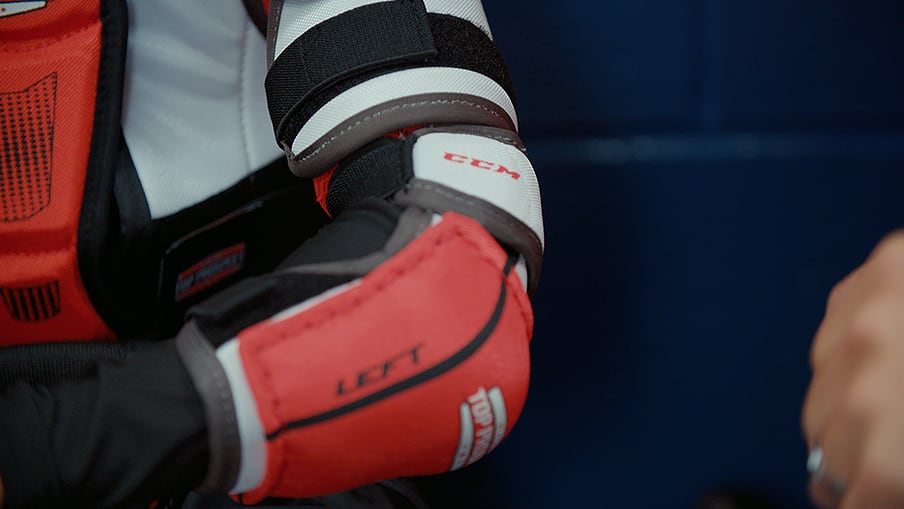
Next your elbow pads should cover from the bicep portion of your shoulder pads to your gloves.
STEP 6
Neck guard
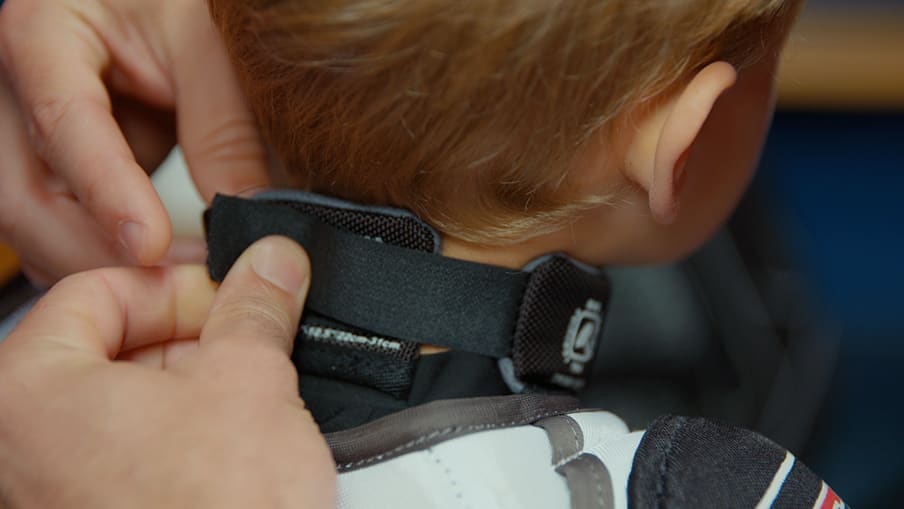
Neck guards, which protect you from skate lacerations, are available in a collar or bib style. The size is adjustable, so fasten until it’s comfortably snug.
STEP 7
Gloves
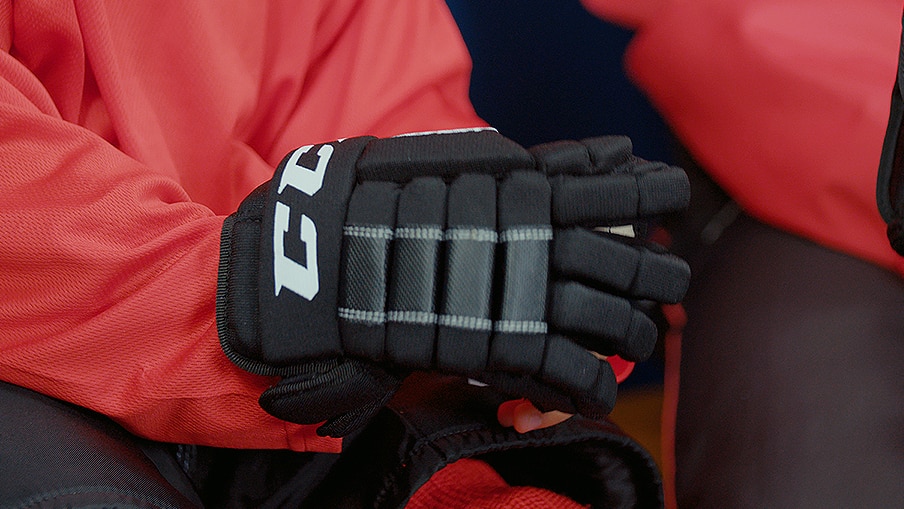
Finally glove, which shouldn’t overlap with your elbow pads, but also shouldn’t expose any skin. Make sure you have the mobility to grab a stick.
