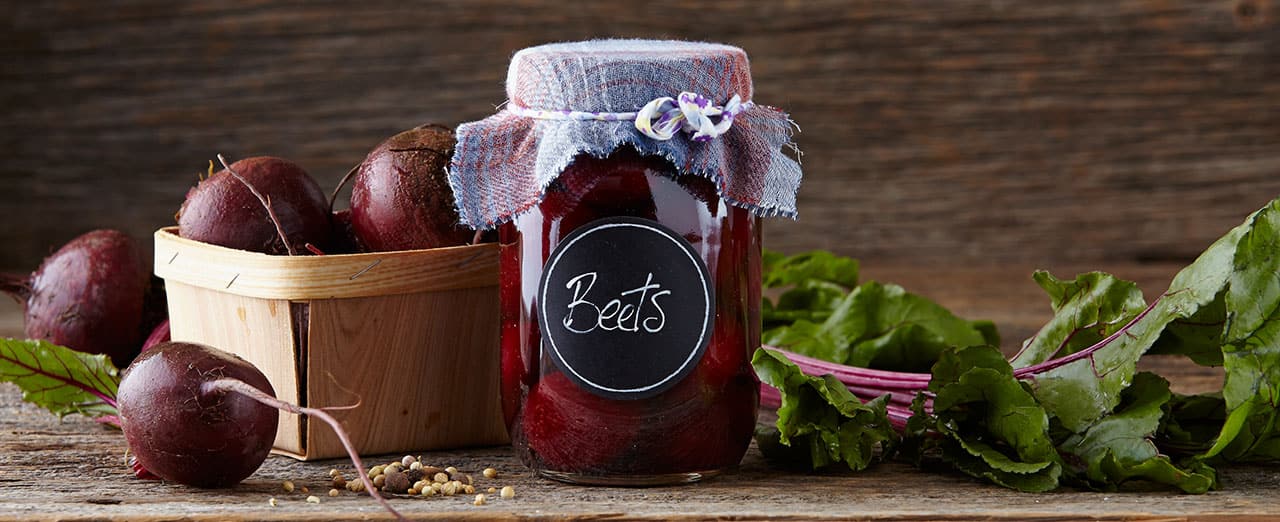
How to can whole pickled beets
A pantry staple, serve these tasty beets alongside meats like duck and turkey.


6 STEPS
WHAT YOU'LL NEED
- 10 cups beets
- 2 1/2 cups white vinegar
- 1 cup sugar
- 3 tbsp pickling spice
- 1 cup water
STEP 1
Can preparation process
Place six clean 500 ml mason jars on the rack in a boiling water canner. Cover the jars with water and heat to a simmer. Heat sealing discs in hot, not boiling, water. Keep jars and sealing discs hot until ready to use.
STEP 2
Ingredients preparation process
Scrub beets, leaving root and 5 cm of stem intact to prevent bleeding. Place beets in a large saucepan. Cover with water and bring to a boil. Cover and simmer 20 to 40 minutes until beets are tender. Next, tie pickling spice in a square of cheesecloth, creating a spice bag. Combine with vinegar, water and sugar in a stainless steel saucepan. Bring to a boil. Cover and boil gently for 15 minutes. Discard spice bag. Drain beets and rinse with cold water to cool. Slip off the skins removing taproot and stems.
STEP 3
Packing process
Pack beets into a hot jar, leaving 2 cm of headspace at the top. Add hot pickling liquid to cover beets to within 1 cm of top of jar. Using a spatula, remove air bubbles and adjust headspace, if required, by adding more beets and hot brine. Wipe the jar rim clean to remove any food residue. Place lids and bands on jars and screw tight until resistance is met. Do not over tighten. Return the filled jar to the rack in canner and repeat for remaining jars.
STEP 4
Boiling process
Cover the jars with water. Cover canner and bring water to full rolling boil before starting to count processing time. Boil filled jars for 30 minutes.
STEP 5
Cooling process
Remove canner lid, wait 5 minutes, then remove jars without tilting and place them on a protected work surface. Cool undisturbed for 24 hours. Do not retighten screw bands.
STEP 6
Storage process
After cooling check jar seals by pressing the top of each seal. If they do not bounce back it means the seals have taken. Remove screw bands and wipe and dry bands and jars. Store screw bands separately or replace loosely on jars. Label and store jars in a cool, dark place. For best quality, use home canned foods within one year.
