Save up to 30%* on select tires and wheels from our top brands including Continental, Michelin, MotoMaster and more.
Shop NowNew Cardmember Offer. $150 Bonus CT Money®††. Conditions Apply. Ends May 31.
Learn MoreThis paragraph should be hidden.
How to iron a shirt
Do you have an important event coming up… a job interview? First date? Ironing can be a burden… but with these easy steps, you’ll be looking sharp in your freshly ironed shirt.


STEP 1
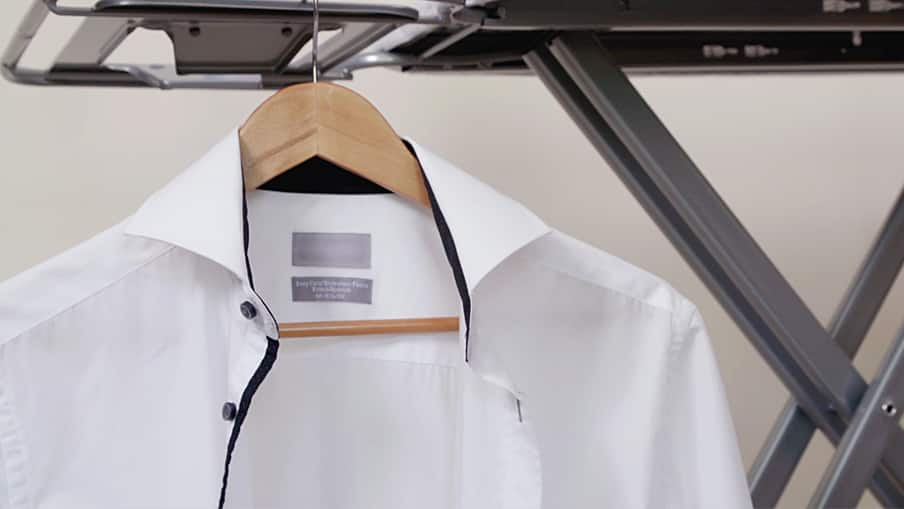
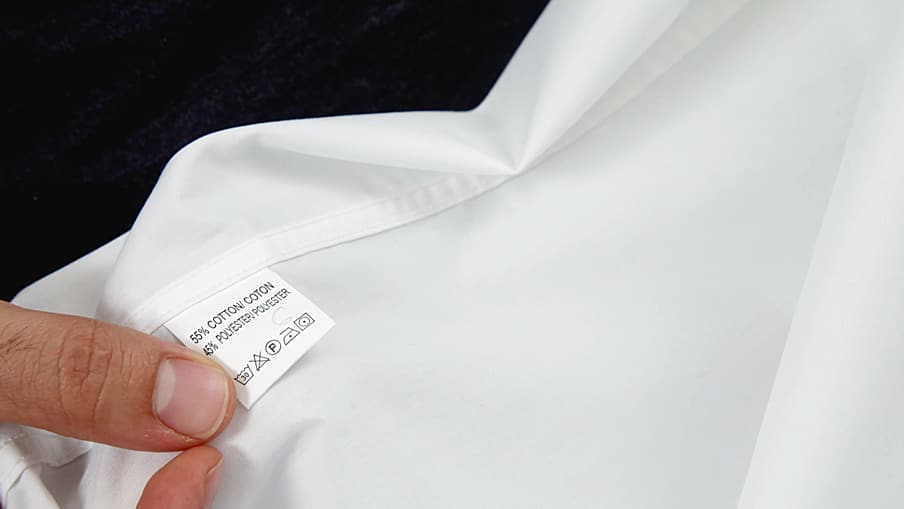
Make sure to read the shirt’s label
It’s important to understand what material it is before ironing. Otherwise, you may ruin it!
STEP 2
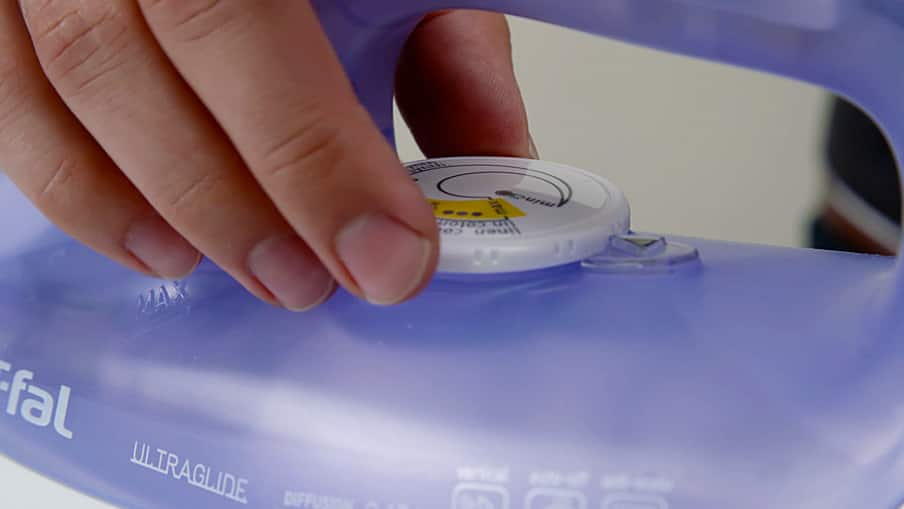
Prepare the iron by setting it to the lowest temperature
STEP 3
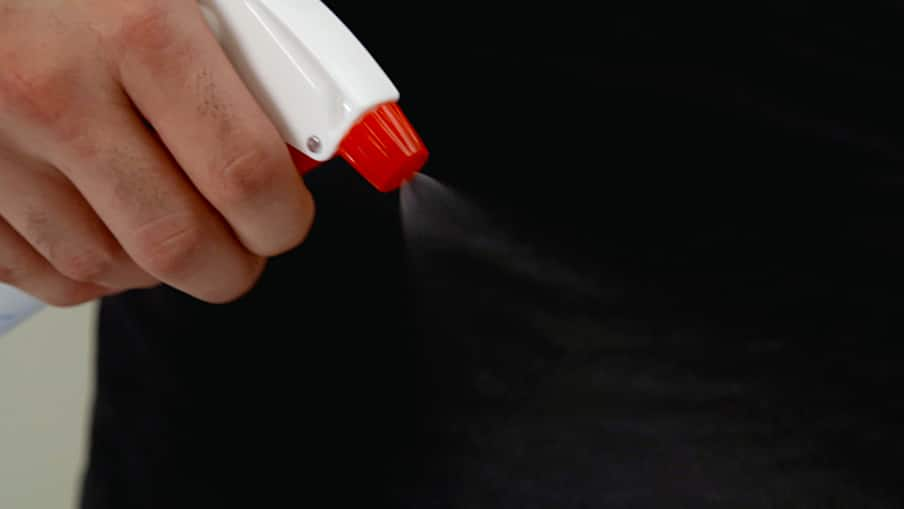
Lightly moisten your clean shirt with a spray bottle before laying it out on the flat edge side of the ironing board.
STEP 4
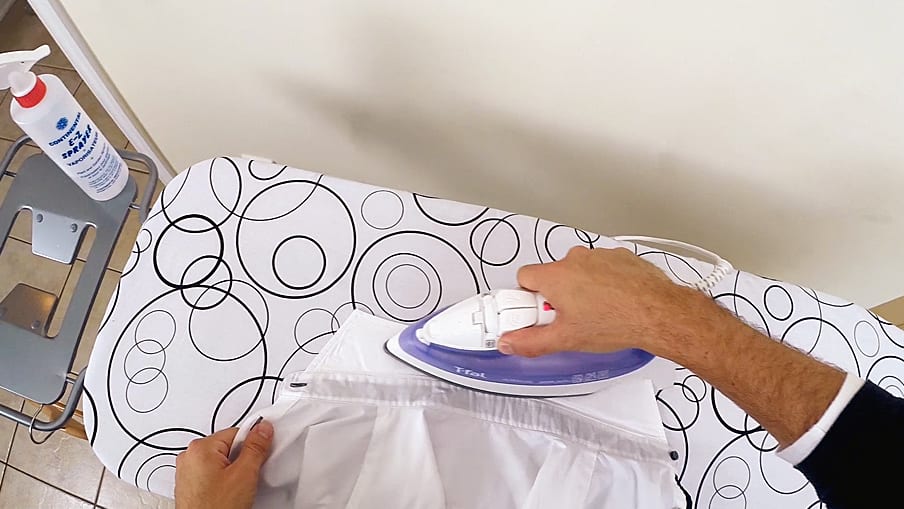
Iron underside of collar
Iron the underside of the collar, working out any kinks by pressing the iron from one side to the other. Repeat on the opposite side of the collar.
STEP 5
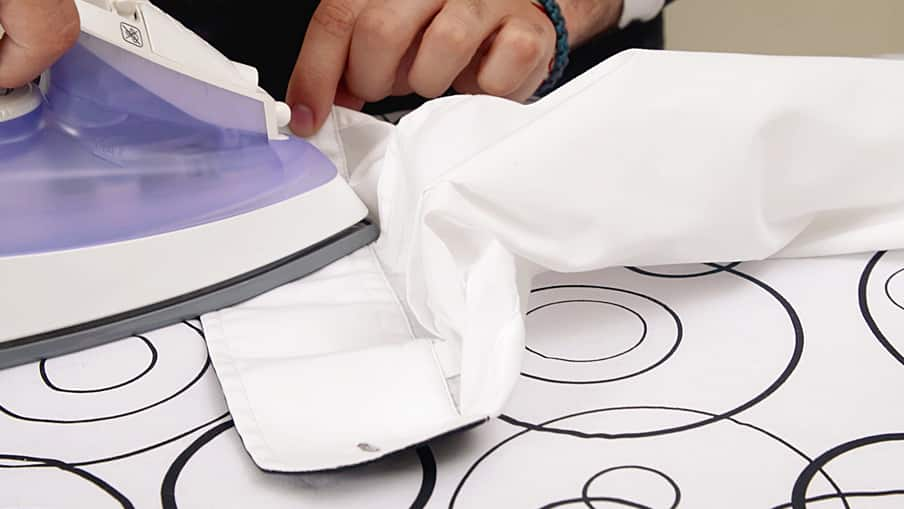
Repeat with shirt cuffs
First unbutton, and then iron on both sides. Be careful to work around the buttons, not over them.
STEP 6
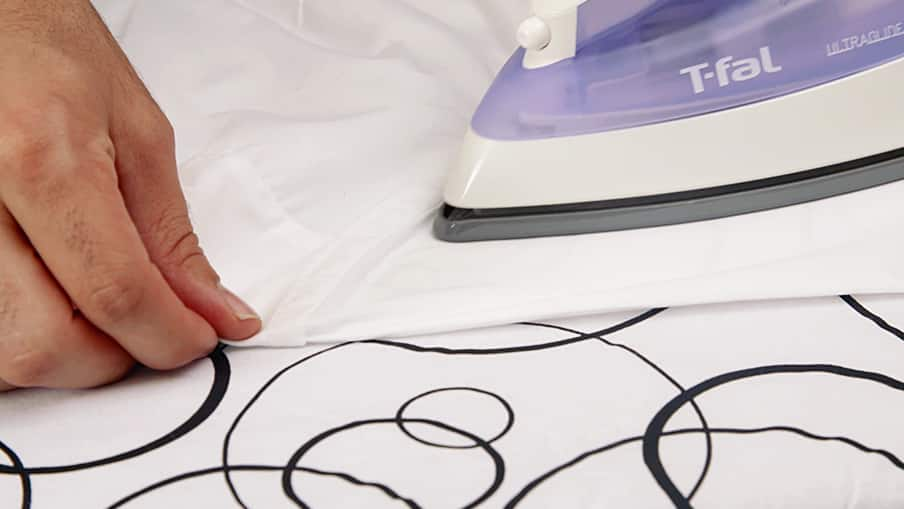
Iron sleeves
Lay the sleeves out smoothly on the fabric of the ironing board. Start ironing at the top of the shirt where the sleeve meets the shoulder. Work your way down to the cuff. Turn over and repeat on the other side.
STEP 7
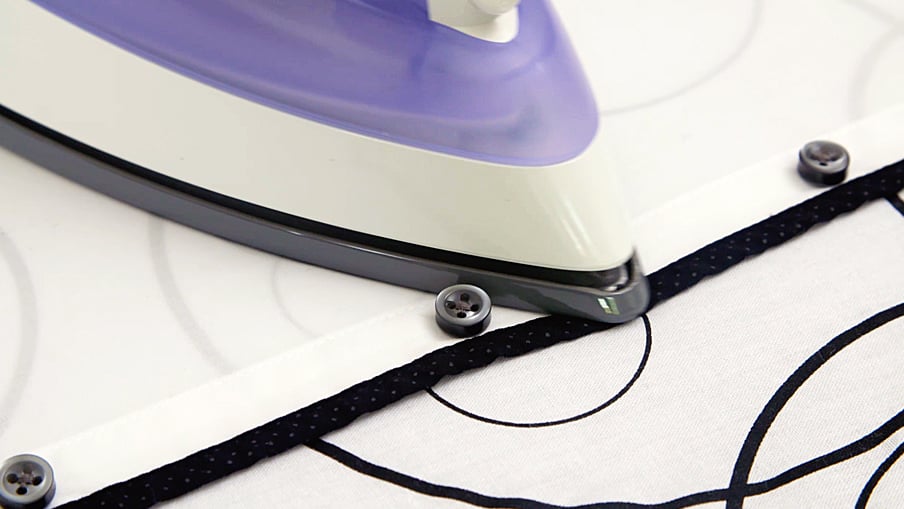
Iron the front of the shirt
Start with the outside, carefully working around the buttons. Then iron from the shoulder downward.
STEP 8
Iron the back
Lay the shirt flat on the board to iron the backside. Start at the back shoulder area and slowly slide the iron down.
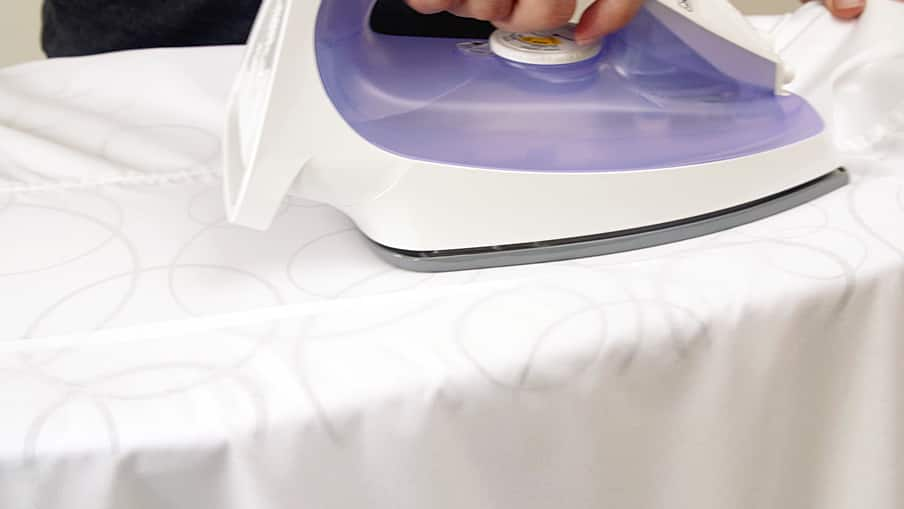
STEP 9
Inspect any missed spots
Now, hang up your shirt, button the top and inspect for any spots you may have missed.
