Get your order today. Same-Day Pick Up* or Delivery** available.

Learn More
CANADA'S STORE Made for Life in Canada

Credit Offered* Learn More

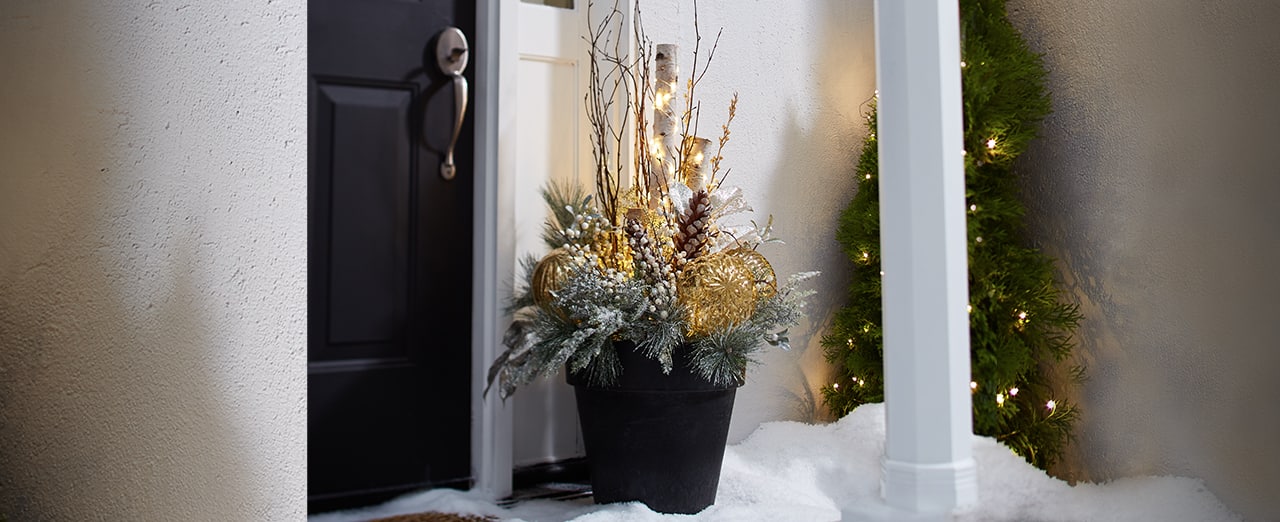
How to create a rustic birch urn

Here’s an easy idea
for creating your own one-of-a-kind decoration for your entryway or covered porch. Tailor it by adding items that delight you into the mix.

how to make a rustic urn how to make a rustic urn

STEP 1

Fill planter with floral foam

Fill the planter with floral foam leaving a bit of a gap on one side. Use a utility knife to trim as needed. 

STEP 2

Wind lights around birch logs

Lay birch logs on a flat surface. Carefully wind a length of the lights around one log, from one end to the other and back again. Use elastics at one end to secure the log together with the next log. Gently spread out the free ends, then wind the lights up and back down the second log. Repeat with the third log.

STEP 3

Secure logs in planter

Place elastic-bound end into opening in planter and angle logs slightly as desired. Cut smaller pieces of foam to fit around the birch and secure in place. 

STEP 4

Add pine and fern sprays

Tuck snowy pine sprays in around the birch, making sure to insert the ends into the foam to secure. Fluff sprays as needed to look more natural. Repeat process using the fern sprays. 

STEP 5

Glue ornaments to skewers

Remove caps from shatterproof ornaments. Use glue gun to secure a skewer to each ornament opening. Note: Hold firmly in place for at least a minute for the glue to set. 

STEP 6

Add ornaments to planter

Thread skewer ends through the picks and press into the foam so that the ornaments sit in front of the birch. 

STEP 7

Add laurel and mistletoe picks

Tuck in golden laurel sprays around ornaments. Shape and adjust the sprays as needed. Repeat with mistletoe picks. 

STEP 8

Fill in gaps with natural twigs

Fill in any gaps around the urn with the rest of the natural twigs from the bundle.