Check the weather - aim for a dry day over 5 degrees. Double check the label as application temperatures may vary.
STEP 2
Use a broom or wire brush to to clean all the dirt out of the cracks.
STEP 3
Grab a can of Asphalt Driveway Crack Filler. Read all the warning labels.
STEP 4
Place your finger on the cap and shake well. Approximately 2 minutes.
STEP 5
Cut the spout tip to the desired width.Ensure the spout width is smaller than the crack.
STEP 6
Squeeze the Asphalt Driveway Crack Filler into the cracks. If the crack is 1/4 inch or less in width/depth, only one application is necessary.
STEP 7
If the crack is deeper than ¼ inch, squeeze a first application of asphalt driveway crack filler. Then, add fine sand to a 1/4 inch from the surface - then add another layer of crack filler to top it off.
STEP 8
Add another layer of crack filler to top it off.
STEP 9
Use a generous helping of the crack filler, overfilling each crack to allow the filler to sink in.
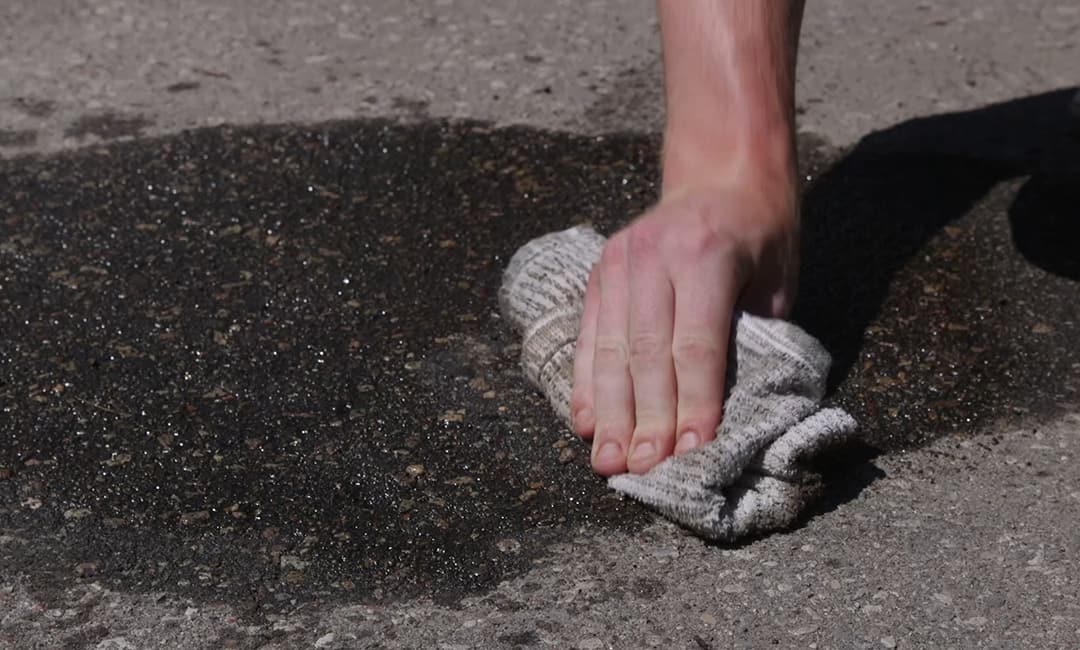
STEP 10
Let the crack filler sit for at least a day before you walk or drive on the repaired areas.